|
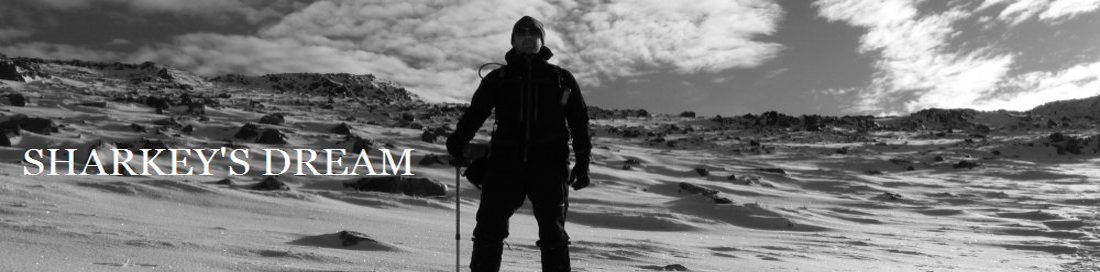
Blea Rigg to Tarn Grag from Grasmere |
 |
 |
29th July 2023 |
 |
|
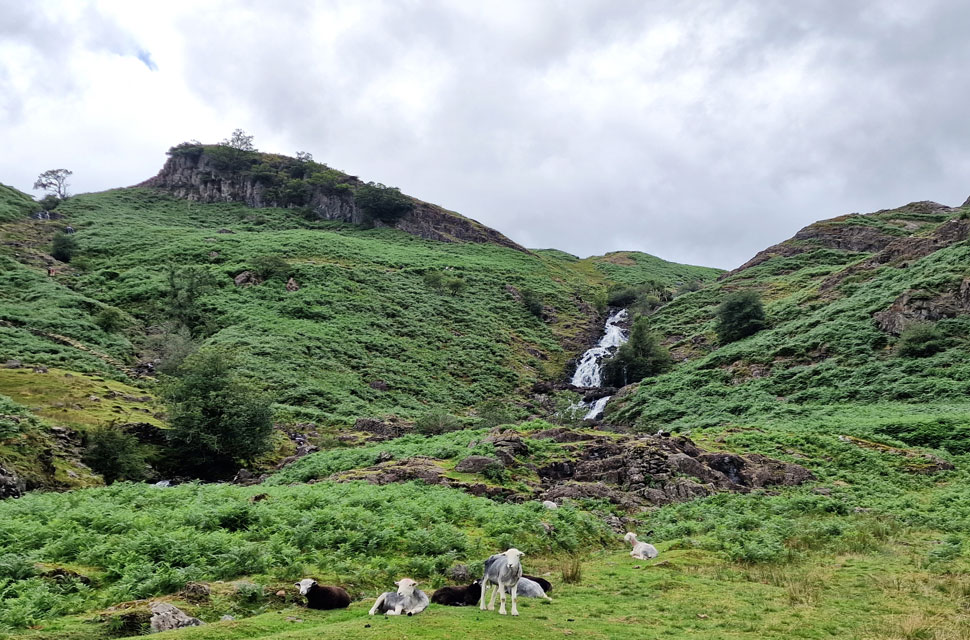
Today's forecast is slightly better than last weekend's very damp circuit of Haweswater, but with that said, the unsettled weather continues, leaving the lakeland fells feeling more like autumn than the middle of Summer. It was Rod who suggested today's walk, which matched the autumnal conditions perfectly, taking in Blea Rigg, Sergeant Man, and Tarn Crag.
Due to a family health scare, it was down to the wire if I was able to make the walk, and even though my mother-in-law is far from out of the woods, I was able to make the walk after all.
David was meant to be joining us but texted this morning explaining that he was unwell and wouldn't be able to make it, but we made up the numbers with Michael and Rod's daughter Louise, whom I met for the first time today. Louise isn't new to fell walking given the accomplishments of her Dad Louise already has a number of Lakeland summits under her belt, today she added three more. |
|
| Wainwright Guide Book Three |
 |
| The Central Fells |
| Sergeant Man is merely a rocky excrescence at the edge of a broad expanse forming the top of High Raise but is so prominent an object and offers so compelling a challenge. |
 |
|
|
|
| |
|
Overview |
|
|
| Ascent: |
2,428 Feet - 740 Metres |
| Wainwrights: |
3, Blea Rigg - Sergeant Man - Tarn Crag (Easedale) |
| Weather: |
Cloud Clearing Leaving Sunshine and Scattered Showers, Windy Across The Summits. Highs of 18°C Lows of 15°C |
| Parking: |
Parking Spaces, A591 Grasmere |
| Area: |
Central |
| Miles: |
9.2 |
| Walking With: |
Rod Hepplewhite, Louise Hepplewhite & Michael Cox |
| Ordnance Survey: |
OL4 - OL6 - OL7 |
| Time Taken: |
5 Hours 30 Minutes |
| Route: |
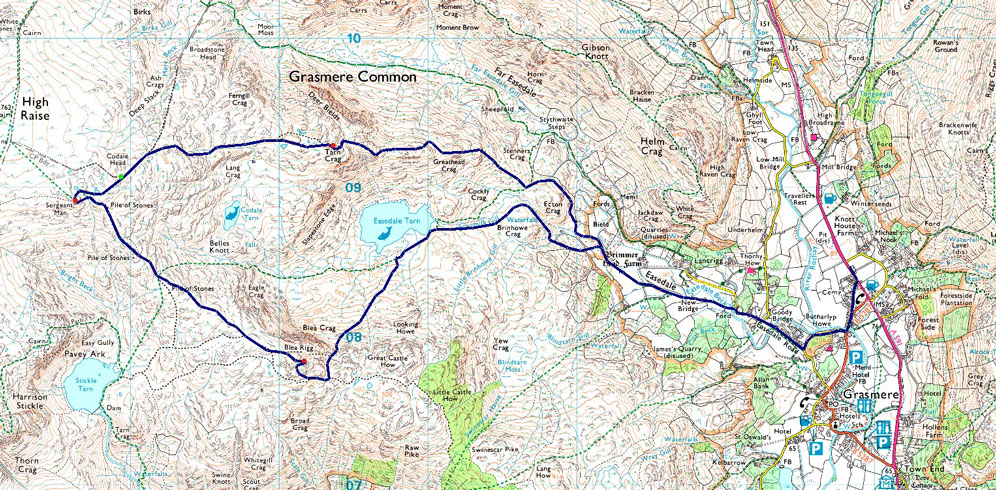
A591 - Butharlyp How - Easedale Road - Goody Bridge - New Bridge - Easedale Tarn - Blea Rigg - Sergeant Man - Codale Head - Tarn Crag (Easedale) - Tarn Crag East Ridge - Far Easedale - New Bridge - Goody Bridge - Butharlyp How - A591 |
|
| |
|
Parking Details and Map |
|
|
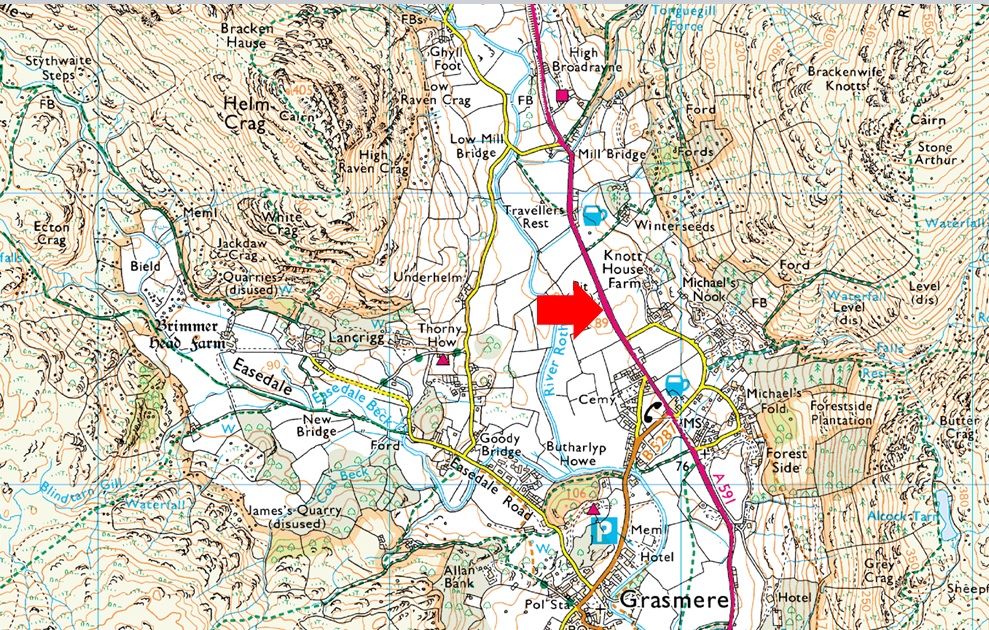
| Nearest Post Code: |
LA22 9RF |
| Grid Reference: |
NY 337 408 |
| Notes: |
Possibly the most convenient, and popular layby in Lakeland! The layby is found just outside Grasmere in between the village and the Swan Hotel. Despite this being a rather long layby parking here is very popular mainly because of the position and access to Helm Crag, Far Easdale and the Fairfield fells. Parking is free. |
|
| |
|
Map and Photo Gallery |
|
|
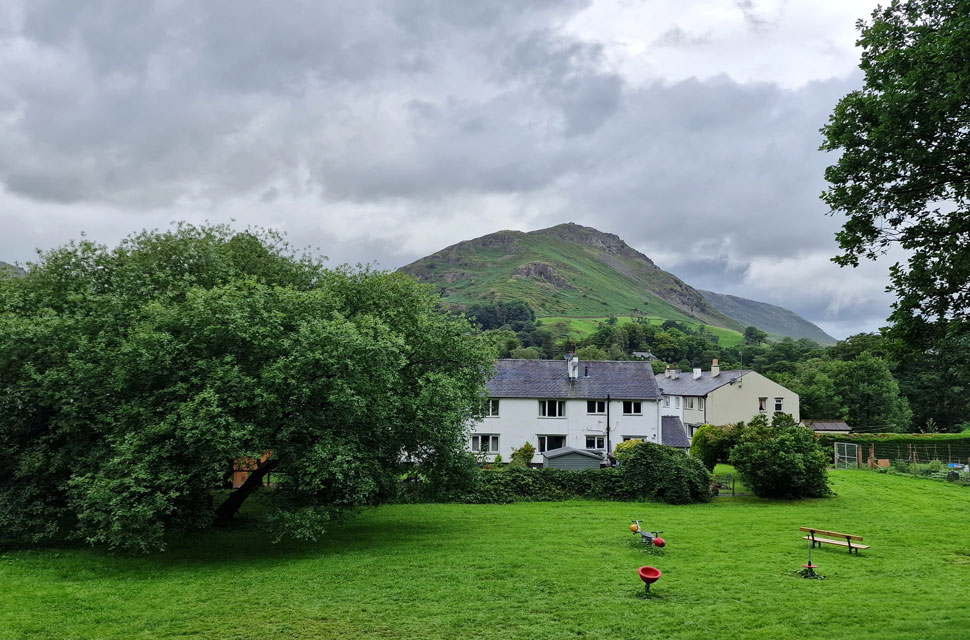 |
| Helm Crag from Butharlyp How 8:30am 15°C |
I had the whole lay-by to myself as I waited for Rod, Louise, and Michael to arrive, during which time I had time to check the Met Office's forecast for Grasmere which didn't match the grey cloud and sharp shower that had just passed. Rod and the gang soon arrived, and after confirming that David wouldn't be joining us, we began to kit up for the day's eventualities.
Another shower came and went, and I was able to use my tailgate as a shelter, by which time I'd changed my mind from adding my Alpkit windproof jacket to my Rab waterproof. Kitted up, we left the lay-by and walked along the A591 until we turned right onto Pye Lane towards Broadgate and Butharlyp How. Grasmere was, as expected, quiet, and we turned into Butharlyp How where we passed a dog walker with her Golden Retriever. The views soon opened up, revealing Helm Crag set against a grey backdrop, little did we know blue skies amd warm sunshine were on the way. |
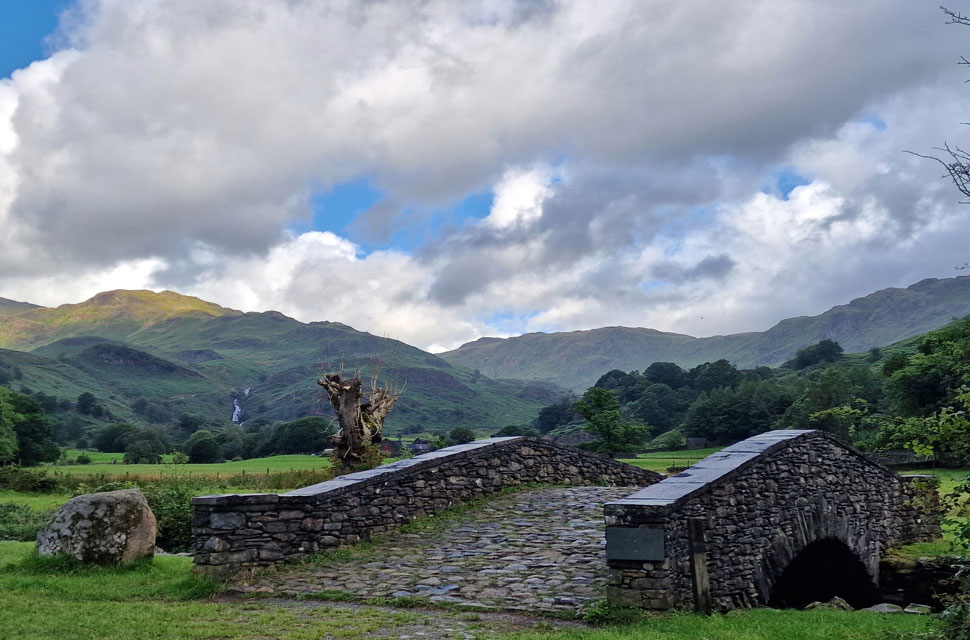 |
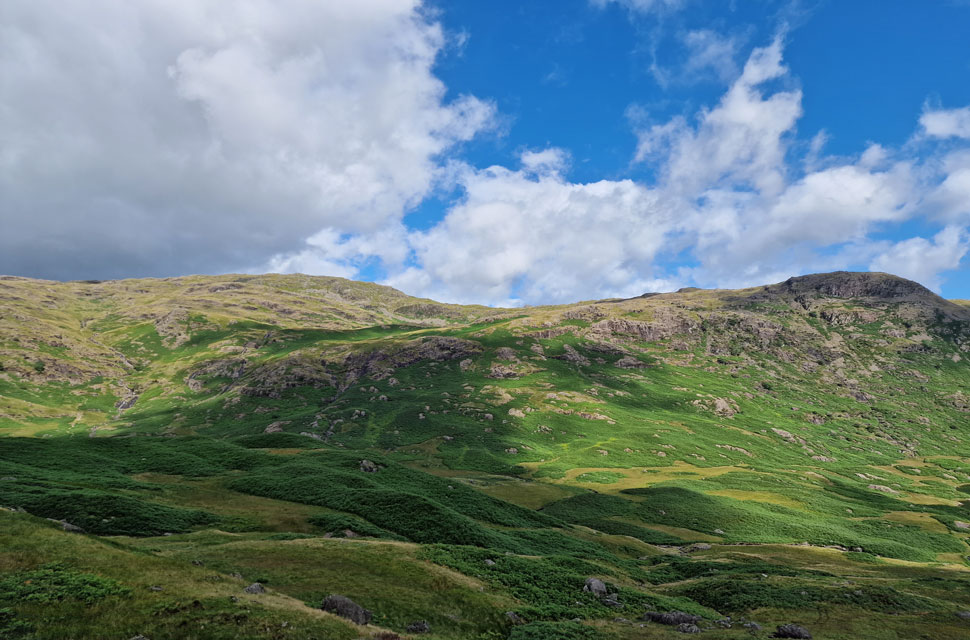
| Tarn Crag (Easedale) Sourmilk Gill and Tarn Crag East Ridge from New Bridge. |
| We left Butharlyp How and joined Easedale Road where we passed a father and his young son out for a morning walk. Tarn Crag (left) came into view, as did Calf Crag (centre) and Gibson Knott (right) By now, the grey skies were making way for some much welcome sunshine. |
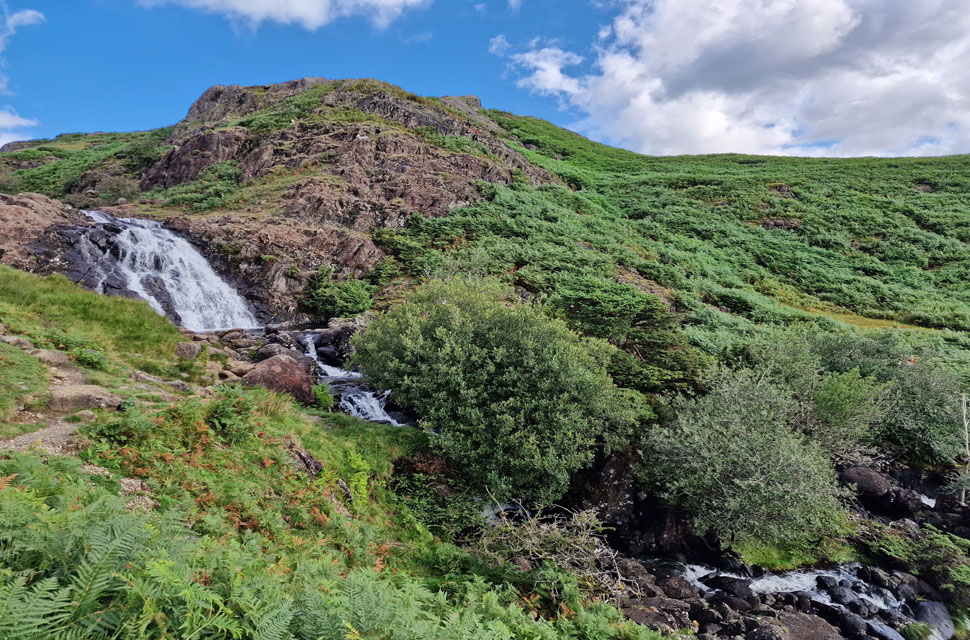 |
| Sourmilk Gill. |
| With the sunshine came a rise in tempreature and soon enough jackets were removed as we climbed alongside Sourmilk Gill towards Easedale Tarn. |
 |
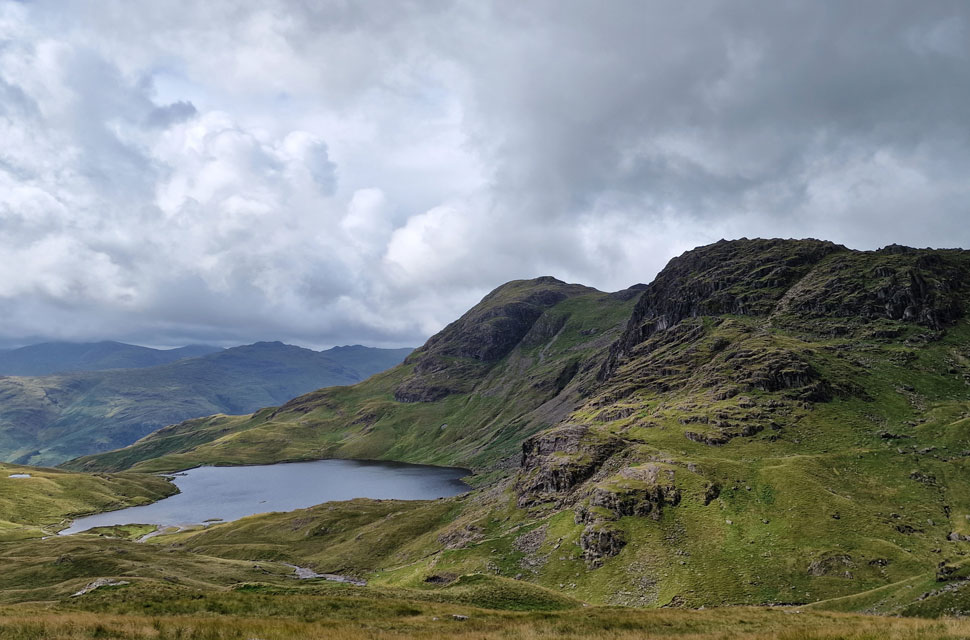
| Belles Knott (centre) and Codale Head (right) |
| By the time we had reached Easedale Tarn it had clouded over, and we were reminded of our last visit last December, when we spotted skinny dippers swimming in Easedale Tarn which could have gotten a tad embarrassing had they not jumped out and covered up as we neared them. On the opposite side of the tarn I spotted a group heading up Tarn Crag's east ridge who were already up to their shoulders in bracken. |
 |
| Going, going... |
| |
 |
| ...gone. |
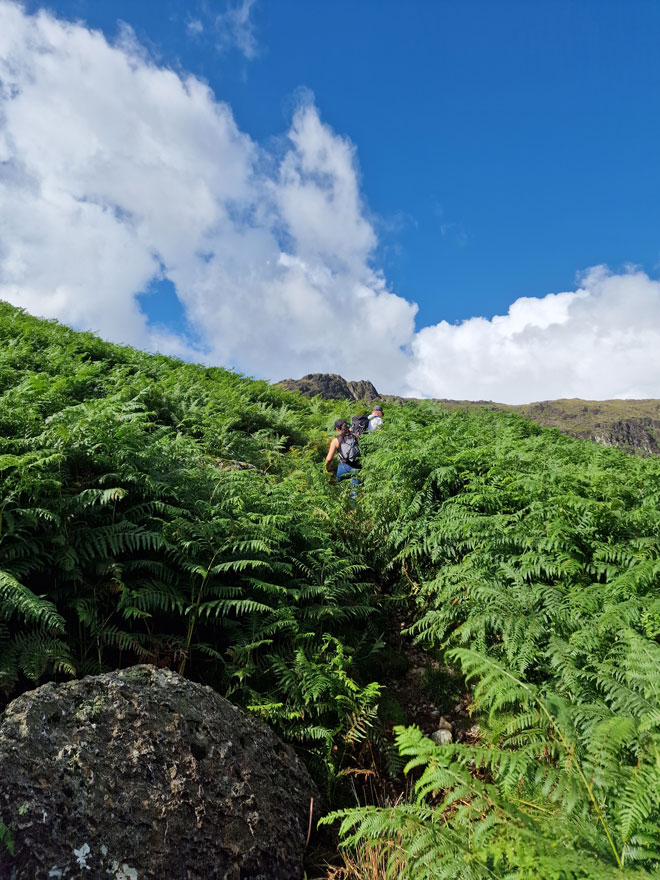
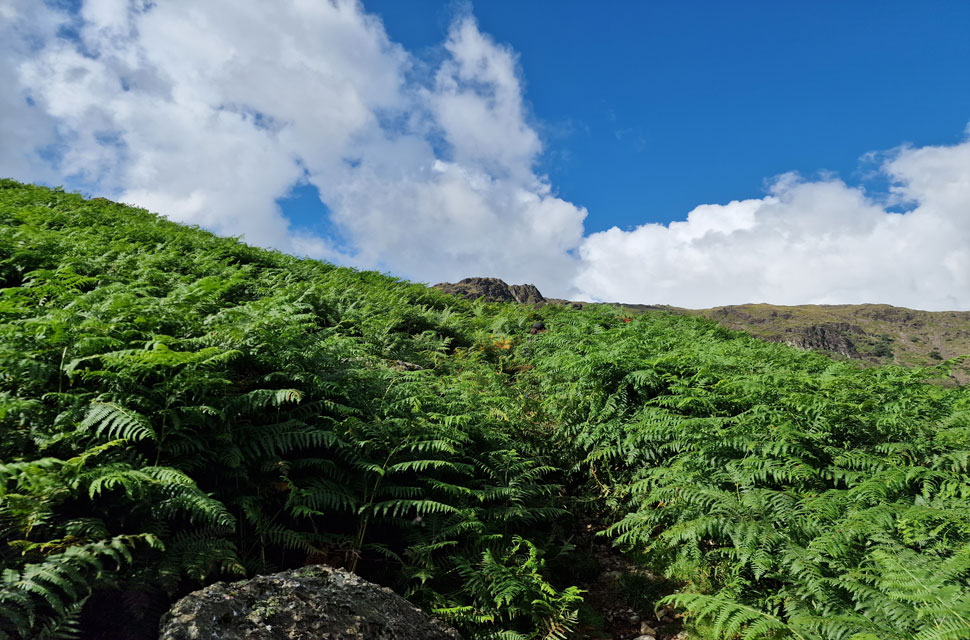
| We continued along the shores of Easedale Tarn until we reached the small cairn, where we headed left, bound for Blea Rigg. The path was at first easy to follow but soon strayed through equally high bracken, which tangled at the feet. Here you can just about make out Louise's baseball cap and the back of Rod's bright red rain cover. |
 |
| Looking back on Tarn Crag (Easedale) Tarn Crag East Ridge and Easedale Tarn. |
| Clear of the bracken we continued to follow the path often stopping to take in the view over Easedale Tarn just over our shoulders, you wouldn't think it was the same day would you! |
 |
| Blea Crag below Blea Rigg. |
| The path began to rise from steady to steep, mostly over swollen ground, where Louise got the chance to christen her new pair of walking boots. |
 |
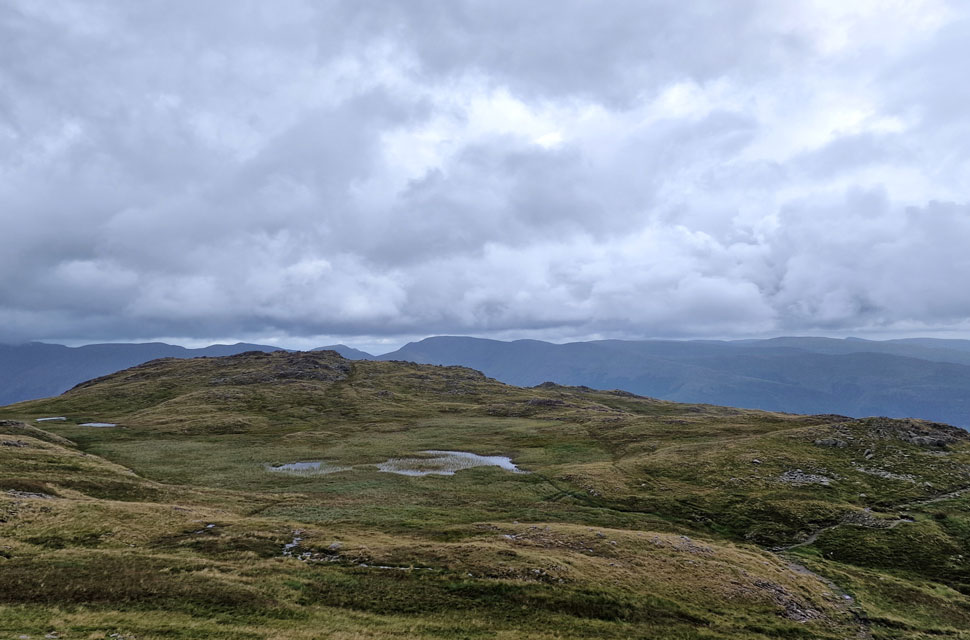
| Looking back on Codale Head (left) and Tarn Crag (Easedale) (right) |
| Not forgetting Belles Knott in the centre which from here, looks no where near as formidable as it actually is. |
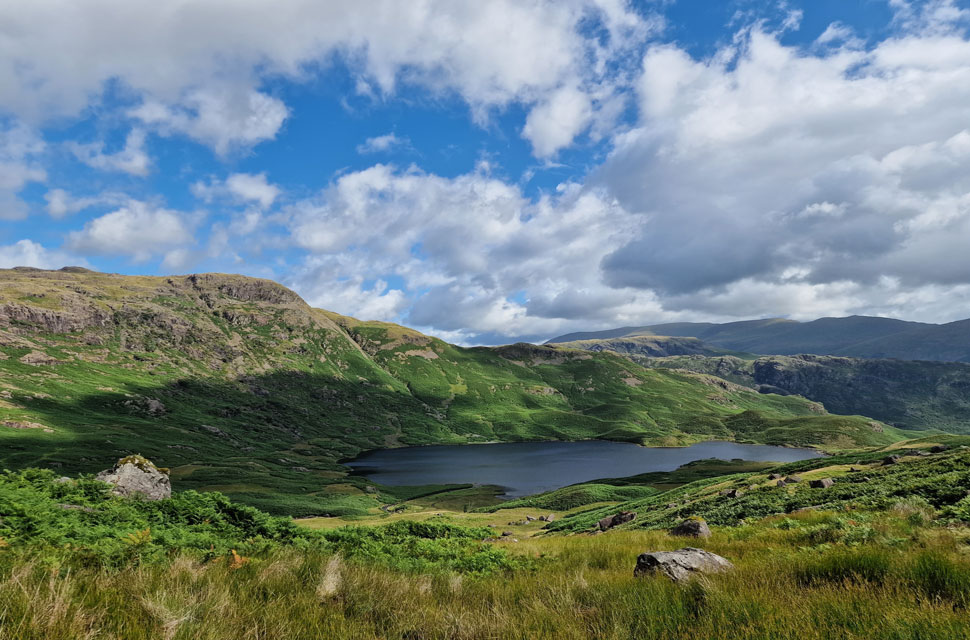 |
| Another view of Tarn Crag (Easedale) with Easedale Tarn below. |
| |
 |
| Looking East towards Great Castle How. |
| The steepness gave way for the grassy col flanked by Blea Crag to our right. We crossed the col where calfs thanked us for the short respite. |
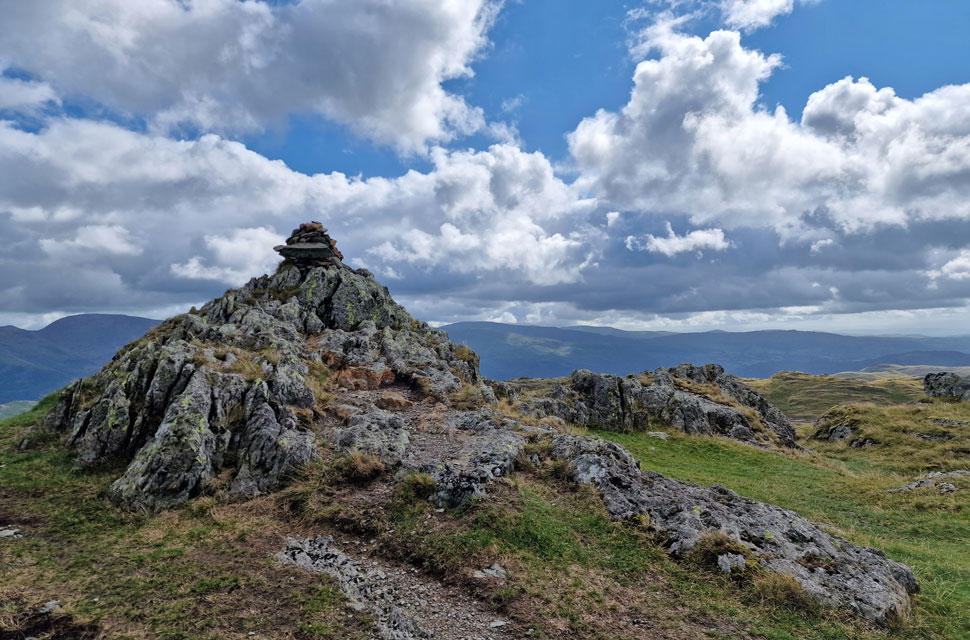 |
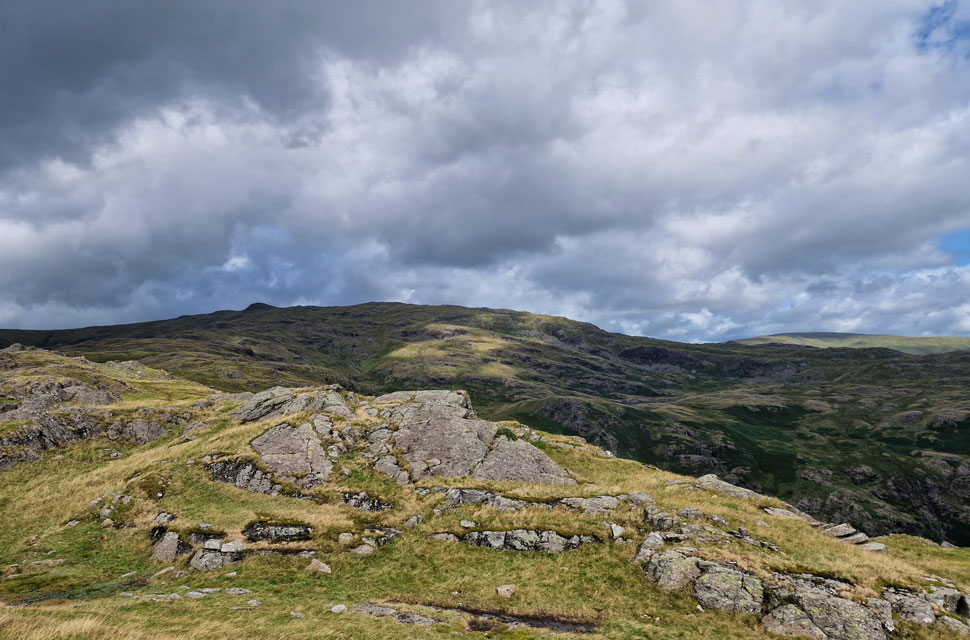
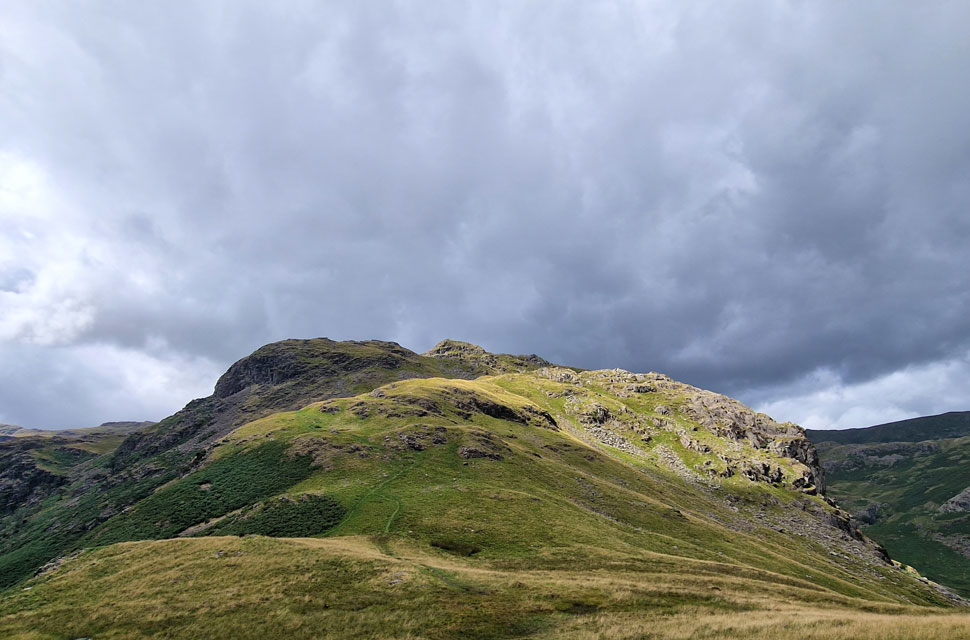
| Blea Rigg summit. |
| From the col, we followed the stony path from where views opened out over the Langdale Pikes and Coniston Fells whose summits were below cloud. It was also here that we had a noticeable drop in temperature as the wind strengthened. |
 |
| Sergeant Man and Codale Head from Blea Rigg. |
| The longer we lingered around the summit the colder it got and I think it was Louise who had the idea to add her jacket and we all followed suit. |
 |
| Looking across to Harrison Stickle, Pavey Ark and Stickle Tarn. |
| Adding the jackets was a great idea as the wind strengthened further the same time as it began to rain. The temperature seemed to take another drop as we crossed the ridge hoods drawn as tight as they would go. With the rain passed the cloud began to lift revealing the Langdale Pikes where we stood watching a solo walker climbing Jack's Rake, rather them than me in these conditions. |
 |
| Sergeant Man summit comes into view. |
| We left views of Codale Tarn behind before beginning the steady plod on Sergeant Man where we were treated to more rain showers although given the strength of the wind, we were blown dry within minutes. |
 |
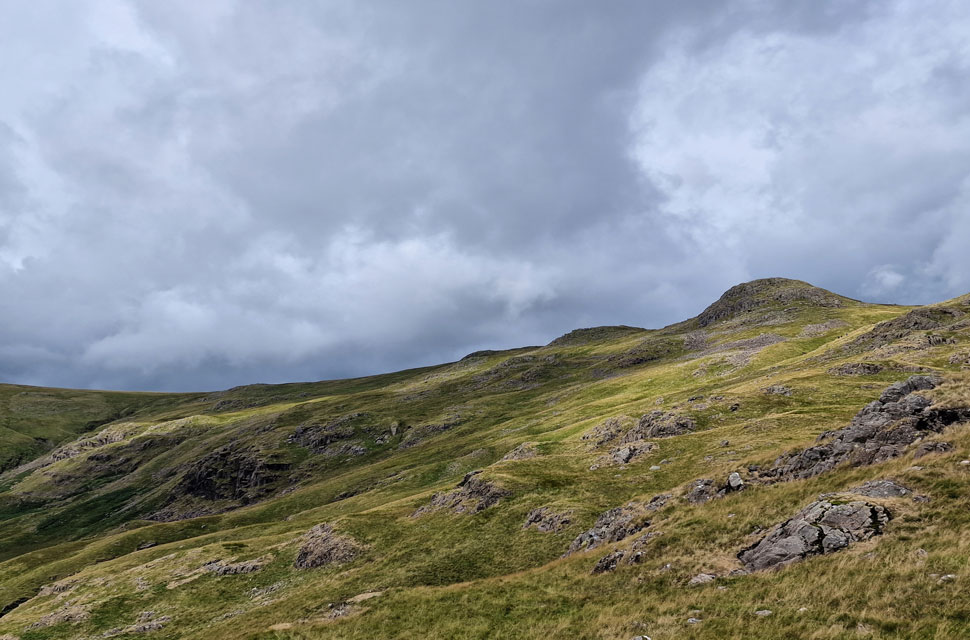
| High Raise (Langstrath) from Sergeant Man summit. |
| We soon reached the base of the summit outcrop and were at the summit just a few moments later finding two fell runners and their dog sitting either side of the summit cairn. We passed the cairn and, to be honest, was happy to have begun our descent before one of the runners asked if I wanted them to move so I could take a photo. Nah, you're ok mate, I replied. We dropped a few feet and found shelter for a few moments before the two fell runners left not before explaining that they were training for the Bob Graham round. As they left for High Raise as we plotted our route over Codale Head. |
 |
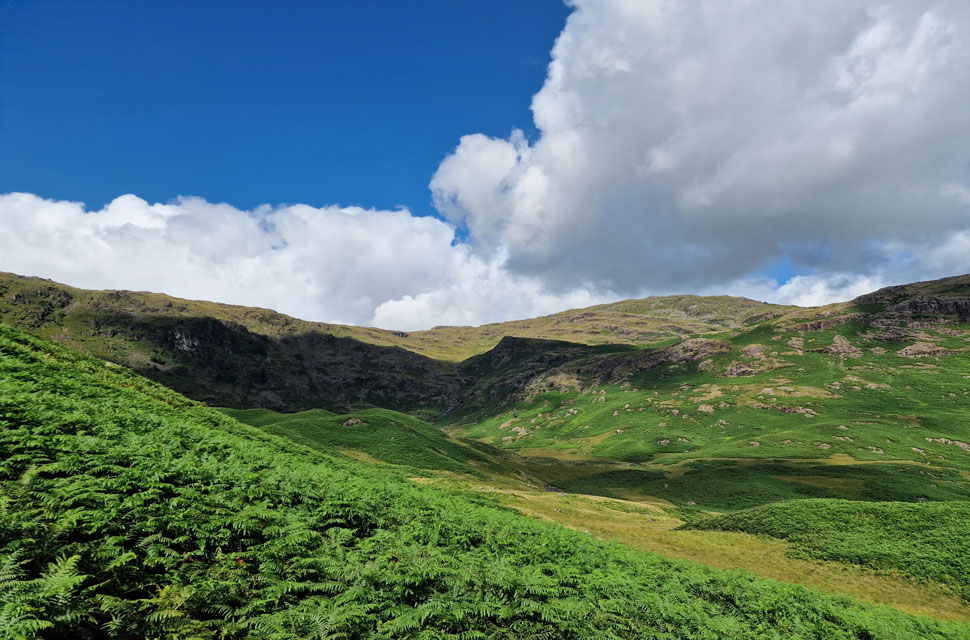
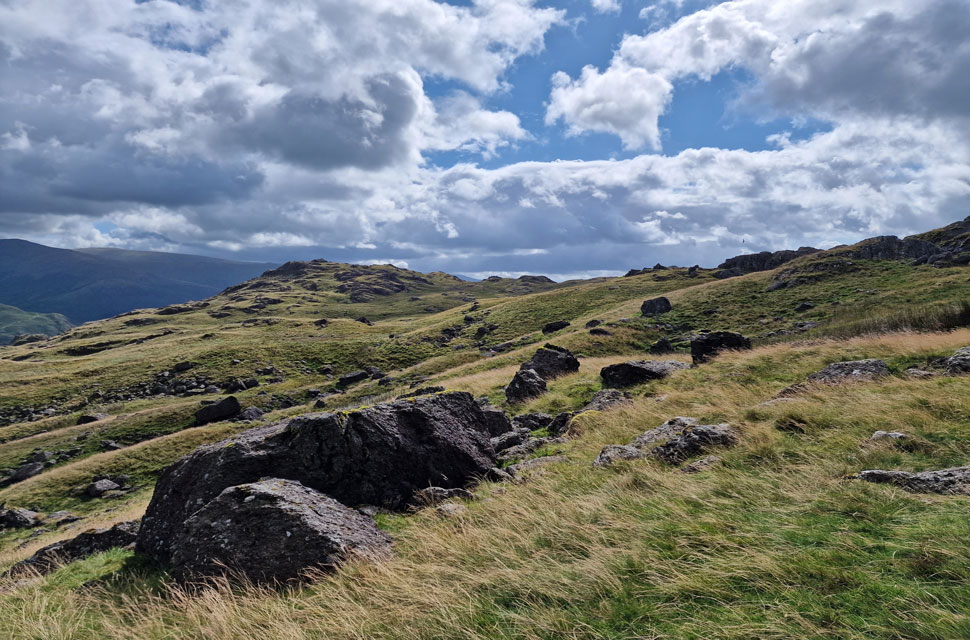
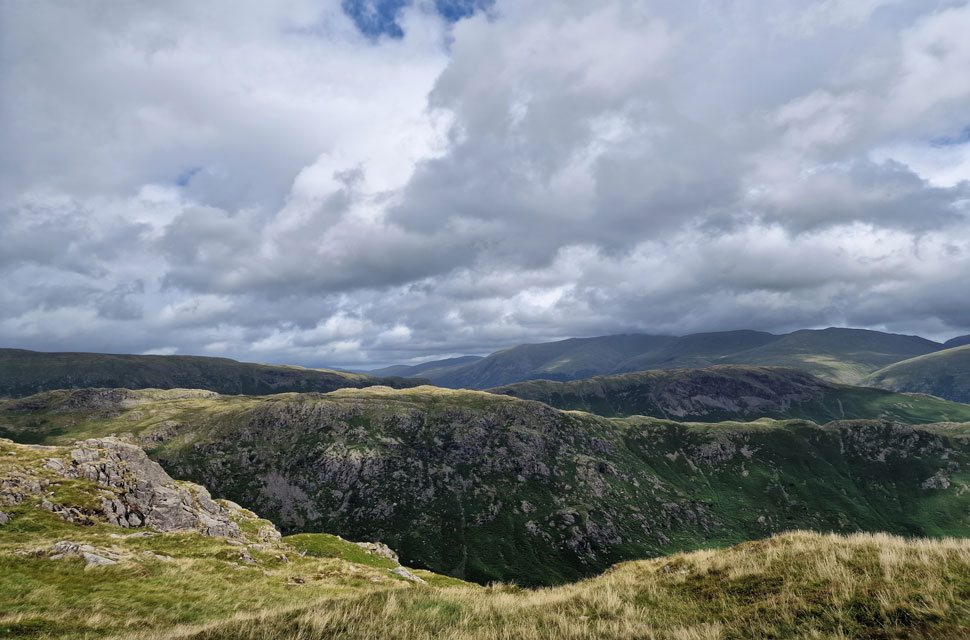
| Codale Head. |
| Right of the centre two tarns then over the summit. |
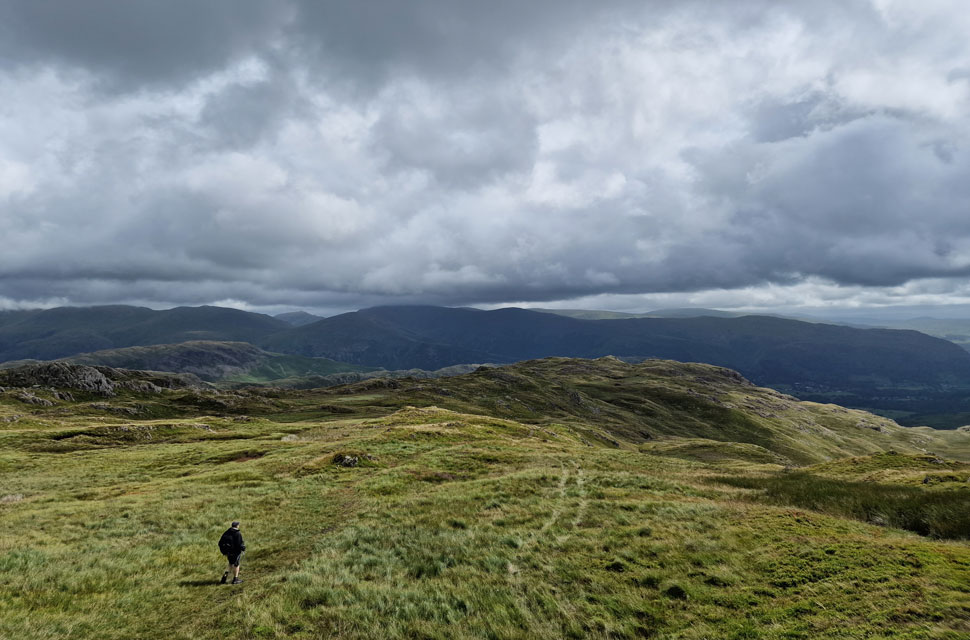 |
| Michael heading for Tarn Crag (Easedale) |
| As soon as the next shower passed the sun came back out as we began the descent of Codale Head bound for Tarn Crag. A descent that Rod and I had used before when collecting our Birketts via a narrow stream gullied by a vien of craggy outcrops from top to bottom. |
 |
| Looking over to Codale Tarn. |
| With Blea Rigg seen over on the left with the Coniston Fells still in cloud in the distance. |
 |
| Looking back on Codale Tarn and Codale Head. |
| With Harrison Stickle seen on the distance. |
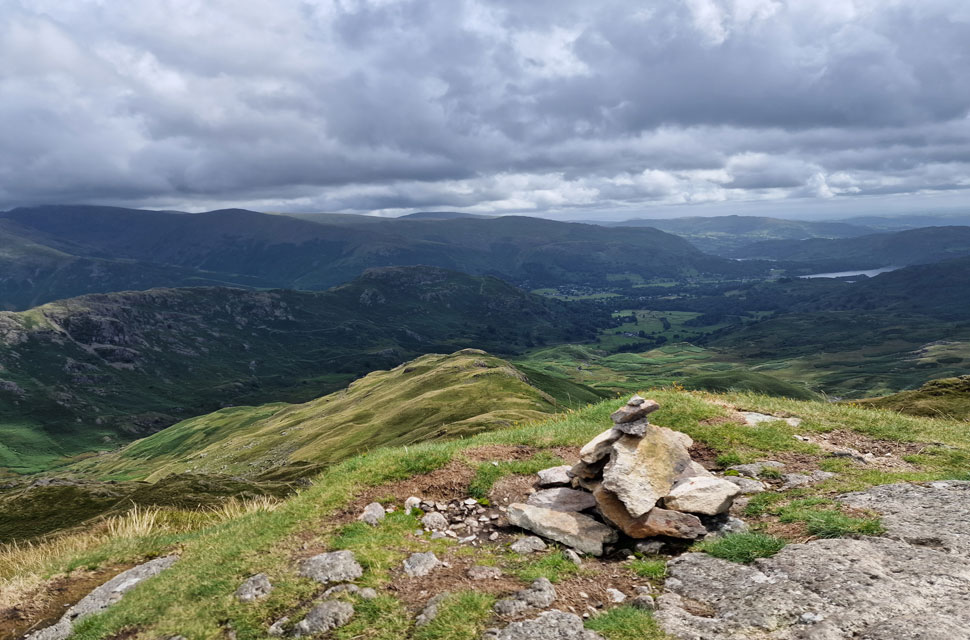 |
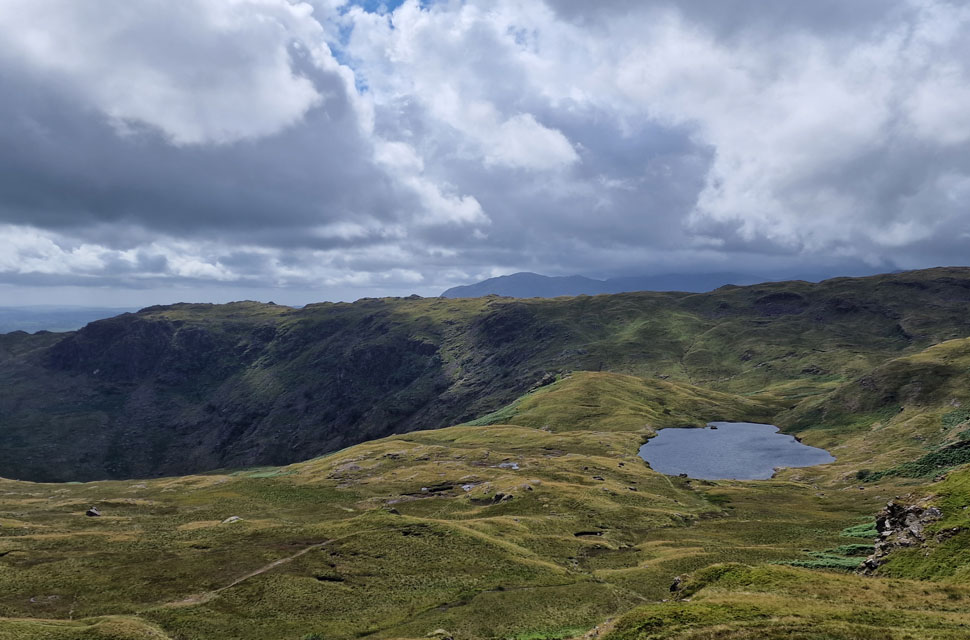
| Tarn Crag East Ridge from Tarn Crag (Easedale) summit. |
| With the wind confined to the higher summits and with the sun on our backs by the time we had reached Tarn Crag it was starting to feel like a proper summers day, what better time to stop for lunch. |
 |
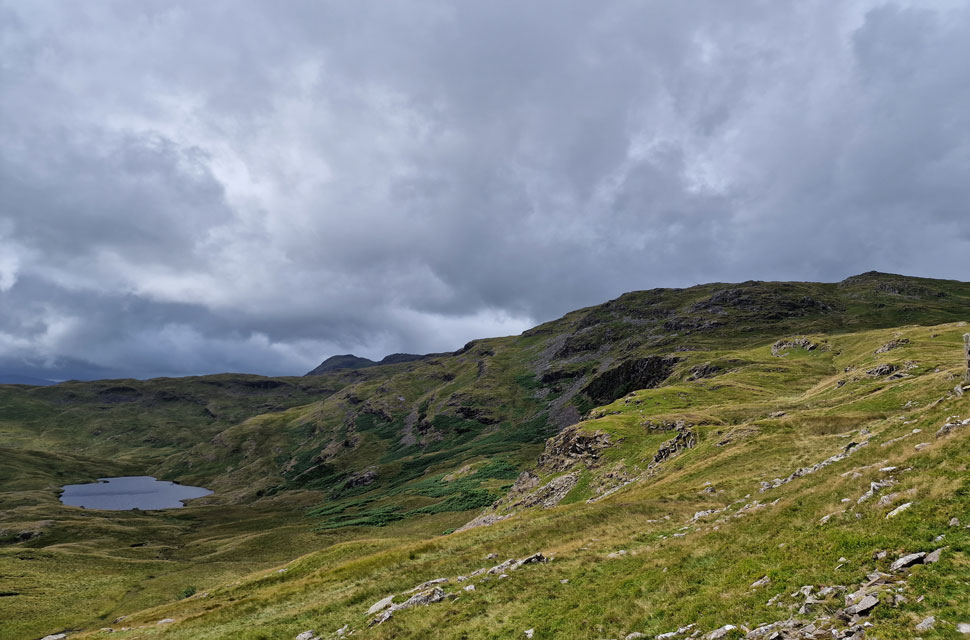
| The view over Far Easedale towards Pike of Carrs, Gibson Knott and Steel Fell from Tarn Crag East Ridge. |
| We dropped into a hollow below the viewing cairn and broke for lunch, in terms of 'lunch with a view' there wasn't much to see I'm afraid. With lunch over we shouldered packs and began our descent down the east ridge. |
 |
| Looking back on Tarn Crag (Easdale) |
Little did we know this was the last of the sunshine we'd see for the afternoon and it remained uncomfortably muggy. Continuing with our descent, we passed over Greathead Crag, which was where we lost Michael, or Michael lost the path after coming a cropper with his walking pole, resulting in Michael taking a tumble down the fell side. Despite a bruised, grazed, and bloodied knee cap Michael was able to laugh it off thanks to his 'SAS training'
It didn't stop there. Around ten minutes later we were decening through bracken, where for the second week running I missed the path below me and took a forward tumble. I however, had received no SAS training; therefore, I almost landed on my head. Ego bruised, I too was able to brush it off, but come on, two weeks in a row, bracken had gotten the better of me. |
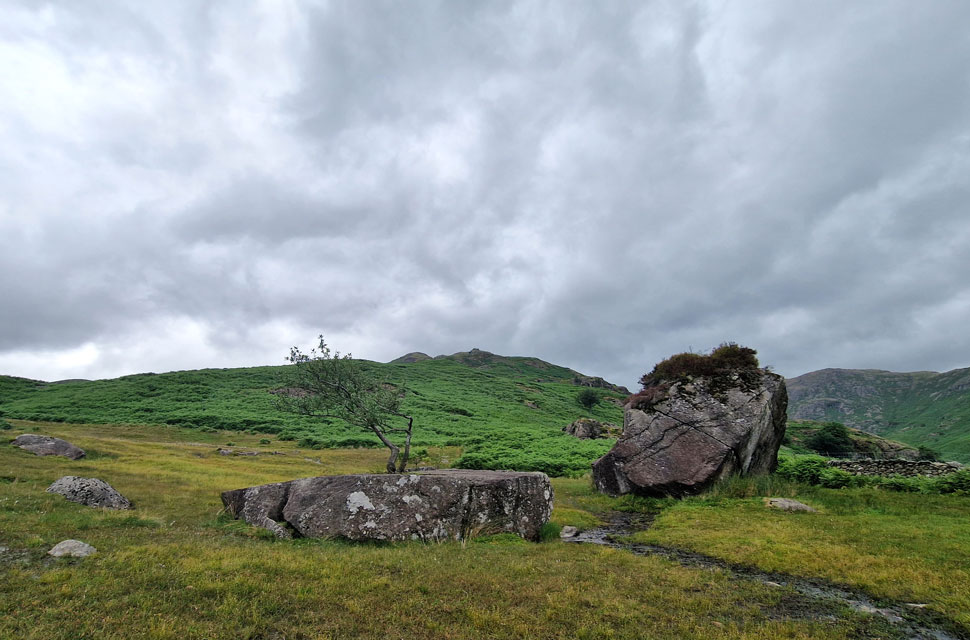 |
| Holly tree and the split boulder, Far Easedale. |
Continuing our descent, we caught up with a couple who kept stopping every few minutes to check their position on the chap's phone. This was all fine and well, but not very fell-etiquette as each time we tried to pass the chap he huffed something and hurried ahead, only for him to stop again and repeat, which was getting quite annoying. Rod created a gap, and the couple strode on, passing the boulders bound for Stythwaite Steps.
It was around here that we spotted half a dozen walkers who seemed to have 'cornered' themselves by the stone wall, which looked odd, but the best was yet to come when a woman looked at us and yelled, "Come on, who's got the correct OS map for this area?" Stunned, we said, now't as I spotted a break in the bracken at the same time as Rod. Ignoring the woman, we went for it and left. It's not like we weren't happy to help, but when you're yelled at in such a manner that it almost feels like you're being blamed for them being lost, well, it's time to leave, isn't it. |
 |
| Sourmilk Gill. |
We followed the break in the bracken while steeply flanking Ecton Crag to our right. The bracken eventually gave way as we neared the base of the crag and we emerged at the footbridge near the foot of Sourmilk Gill before rejoining the footpath close to Brimmer Head Farm and New Bridge. It had clouded over by now, and by the looks of it we'd lost the sunshine for good. Passing around half a dozen walkers heading for Easedale Tarn Goody Bridge was soon reached, and Easedale Road thereafter. The road was much busier now, with folk travelling in both directions, as was the odd car.
We broke left, passed through the gate into Butharlyp How where we passed who I thought was the same woman and Golden Retreiver as we had this morning, either that or I'd just experienced déjà vu. Dull now as we crossed Easedale Gill via White Bridge and White Bridge Forge close by. Pye Lane was just as deserted as we had left it this morning; the same couldn't be said of the A591 where parked cars extended well past the lay-by boundary. Weaving in and out of the cars, we reached our cars and began our kit down. Confined within the shelter of our tailgates while sat on fold-away stoles boots were eased off, ready for the long drive home. |
|
| |
| Back to top |
 |
|